
Quite simply, you place the pieces on the fabric conservatively observing grain lines, and trace around each piece. Most require only one piece. The only one that needs 2 pieces will be the binder cover sleeve. Make sure you follow the grain lines. Here's what you should have for the front pieces. In this picture, the origami flower is already folded. To prepare the Pencil Pocket piece, draw a stitching line down the center length of the pencil pocket back and the pencil pocket front pieces.

And here are the back pieces, interfacing included.

Of course, we'll need to fold that origami flower, so here's how it's done:
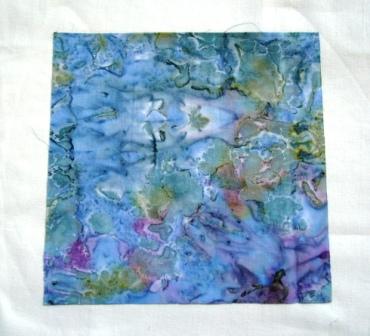
Start with a square
Fold it in half, open it up and fold it in half the other way...

This is what you'll end up with (guidelines for the next step)

Now fold each corner into the center:

Turn it over, and fold it in half so you have some nice guidelines for the next step.

Now that we have some guidelines, open it up (corners should still be folded into the middle) and use the folds to do the next step. Match the edge to the guideline folds you just made. Do this on all four sides.. These are also more guidelines for the next step:


I usually give it a quick press with the iron while doing each step so I have clear guidelines to work with.
After you finish those guidelines, you should end up with this:

This is the tricky part.... A picture paints a thousand words... See if you can figure out what I did.


Do this for all four corners and here's what you'll end up with... We're almost done.

Give it a good press. Turn it over and unfold the corners, give it another good press.


Here's what the other side looks like:

And now it's ready to be sewn into our design. That's Part 3. Soon to come.... Construction
1 comment:
cool!
Post a Comment