New Years eve is quickly approaching, and our dog is afraid of fireworks. The vet says she is getting too old for drugs and we need to try other options. As I was searching for ways to soothe her, I came across Thundershirts. Does it work? Will it work for my dog? I don't know yet, but as there is a sewing contest on PatternReview.com, I'm going to attempt to make one for good old Bonesy.
I have a pattern for dog shirts in my stash. I thought it might be a good idea to start with it so I could get a basic idea on the shapes for dog garments. I found it unnecessary, so don't go out and buy one if you're considering making a thunder shirt. I ended up draping with some leftover stretch fabric to get a pattern I liked. Here's what I ended up with...

There are basically two pieces. The top flap, and the body. I had to add in a decorative stripe 'cuz I was using up some Ponte scraps and didn't have enough brown. Thus, I ended up with 8 pieces, 4 for the body and 4 more for the flap.

When cutting the pieces, I made sure the greatest stretch went around the body. This allows for a snug wrap around doggie's body.

I finished sewing the pieces to construct the body piece using a small zigzag stitch so it will be able to stretch... and used it to refine the fit. Luckily my dog was very cooperative and let me try the garment on her several times as I worked.

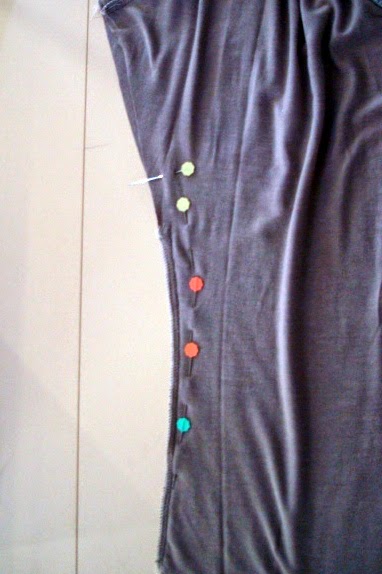
I applied Velcro to the right sides of the body and lining first, so there wouldn't be too much stitching showing on the outsides. There was quite a bit of fitting as I decided where to place the Velcro. I used chalk to mark the placement of the Velcro..

Then sewed them, right sides together... turned, pressed and edgestitched all around the edges with a triple stretch stitch.
Next, I worked on the flap using the same process. when that was ready, I simply sewed it onto the back, again refitting as I went along. I tried to get the stripe to match up, but when I wrap it tightly on her (as recommended) it doesn't. That's okay. I just hope it helps.


If it works, I'll probably make another one for her. crossing my fingers...


